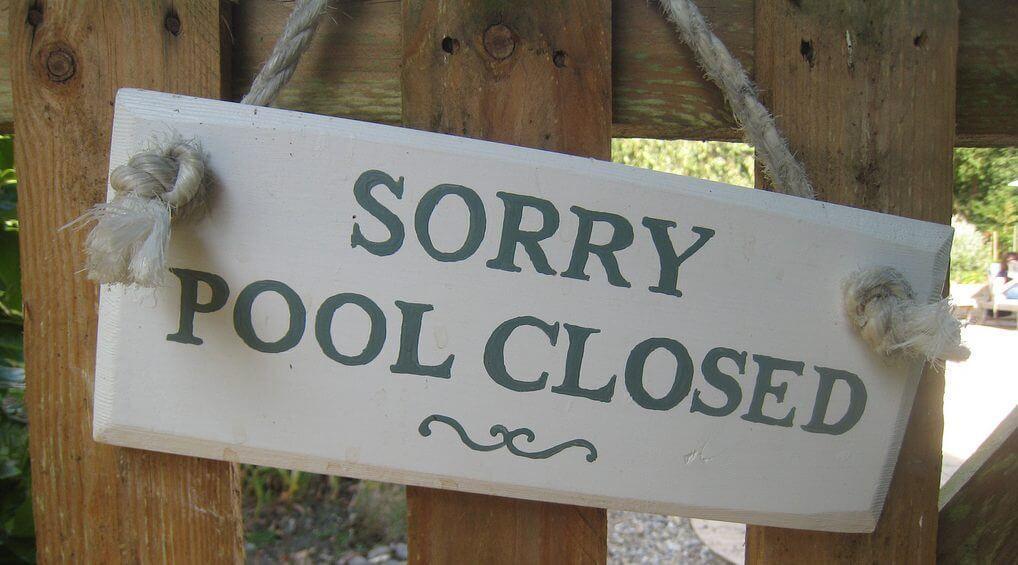
Well it's that time of the year again!
We have all had loads of fun in the pool this summer with our family and friends but now it's time to think about closing your pool for the year.
Take 5 minutes and check out our handy pool closing guide, this can be used for both in-ground and above ground pools.
How to close your pool
Step 1
Check and adjust pH, the level of acidic and alkaline qualities in liquids.
Pool pH should be between 7.2 and 7.6.
To lower, add pH Minus
To raise, add pH Plus.
After adjusting, wait one hour before continuing tests.
Step 2
Check and adjust water hardness to the proper level of calcium in the water.
Calcium levels should be between 175 and 225 parts-per-million (ppm) for all pool types.
To increase the level, add calcium hardness raiser.
To decrease, drain some of the water and refill with source water that has a lower calcium level.
Step 3
Check and adjust alkalinity (how well the water resists a change in pH levels) as needed.
Alkalinity should be 80-125 ppm for plaster/gunite pools, and 125-150 ppm for other pool types.
If lower, add Aqua Trol Alkalinity plus.
If higher, add pH minus.
After adjusting, wait two hours before continuing tests.
Step 4
Check and adjust chlorine level in the pool water.
Chlorine is what kills all the bacteria, viruses and germs in the water. However, the sun’s UV rays can diminish its effectiveness, so pool water also needs a chlorine stabilizer.
Check the stabilizer level and adjust to 30 ppm.
Check the chlorine level and adjust to 1 to 4 ppm
Caution!
Always wear safety goggles and rubber gloves when working with the chemicals. Also make sure you read and follow each product’s directions including how to use and how to store the chemicals.
Cleaning and Storing Pool Equipment
Cleaning involves more than just scrubbing the pool walls. The addition of certain chemicals will help keep your water stable, so it doesn’t damage your pool equipment.
Step 1
Remove, clean and store pool ladders, diving board and other pool accessories.
Step 2
Clean pool walls and floor with a pool brush.
Use a pool skimmer to remove debris from the water.
Also clean the skimmer baskets.
Step 3
As needed, add scale, stain and metal control chemicals. Scales are heavy deposits of calcium that can damage your filter system, so preventive action is best. Refer to product instructions for specifics.
Step 4
Add granular chlorine and let it circulate for six hours.
Step 5
Add algaecide as recommended to prevent the growth of algae on the walls and floor of the pool.
Step 6
Clean the pool filtration system.
Cartridge filters: Replace the filter as indicated by the filter pressure dial or the filter manufacturer. Some cartridge pool filters can be manually cleaned a few times before replacement.
1. Remove the filter and spray with water
2. Soak the filter in a filter cleaner.
Sand filters: Backwash the filter following the manufacturer’s directions. Need for backwashing is indicated by the filter pressure dial. Replace the sand bed as recommended. The following are typical steps for cleaning the sand:
1. Close the valves into and out of the filter.
2. Add filter cleaner at full strength to the filter top through the inspection port, anode port, sand fill or pressure gauge hole, whichever is applicable.
3. After one hour, open the valves and backwash the filter thoroughly.
4. Remove the drain plug.
5. Drain the filter and turn the multi-port valve to the closed position.
D.E. (diatomaceous earth) filters: Backwash the filter following the manufacturer’s directions. Need for backwashing is indicated by the filter pressure dial. Add additives or replace the D.E. as recommended by the filter manufacturer. Typical cleaning steps are as follows:
1. Remove the filter and clean with a filter cleaner to eliminate buildup of grease, oil and scale.
2. Inspect the septa for tears or stretching, and repair or replace as needed.
3. Clean the inside of the filter tank.
4. Reinstall the filter.
5. Make sure the drain plug is closed.
Final Pool Closing Steps
Step 1
Drain the pool’s water level to appropriate level below the skimmer opening.
For painted or natural finish pools with solid covers: 6" below the skimmer opening.
For plaster pools with solid covers: 1-6" below the skimmer opening.
For vinyl-lined pools: 1" below the skimmer opening.
For pools with mesh covers or no covers: 18-24" below the skimmer opening.
Step 2
Remove the directional fittings and install the freeze plugs.
Step 3
Shut off the filter pump, drain all equipment and store as recommended by the pool manufacturer.
Step 4
In extreme cold climates, add swimming pool anti-freeze.
Caution
Do NOT use automotive anti-freeze.
Step 5
Install the cover over the pool and secure. You may need some help with this step.
Now you have closed your pool for the winter, you can go in doors and get that hot toddy you so deserve.
We hope you all have a great winter, whether you ski, snow board, snow shoe or simply sit by the fire and relax.
See you all again in the spring
Pool Store Canada